





How to Measure a Door Opening, Clear Opening, Sub-Frame, Lintel and Side Clearance
Published:
Publisher: Alkur Kapı Sistemleri A.Ş.
Summary
The clear opening is the void in the structure, while the sub-frame is the surround the door fixes to; the dimension is given from the internal face of the sub-frame. Confusing the two means the door either will not enter the opening or leaves a side gap that cannot be closed. Along with the dimension, the headroom, the side clearances, the floor level and the frame being square all need confirming.
The most common error coming off site is not a misread tape but uncertainty about which point the measurement was taken from. “The door is 4 metres” does not go into production on its own: is that 4 metres the void in the structure, the inside of the frame the door will fix to, or the width of the vehicle that has to pass? Those are three different numbers, and the difference between them cannot be corrected once manufacture is complete.
This article sets out which value is taken from where, and why the size confirmation form has so many lines on it.
The clear opening and the sub-frame are not the same
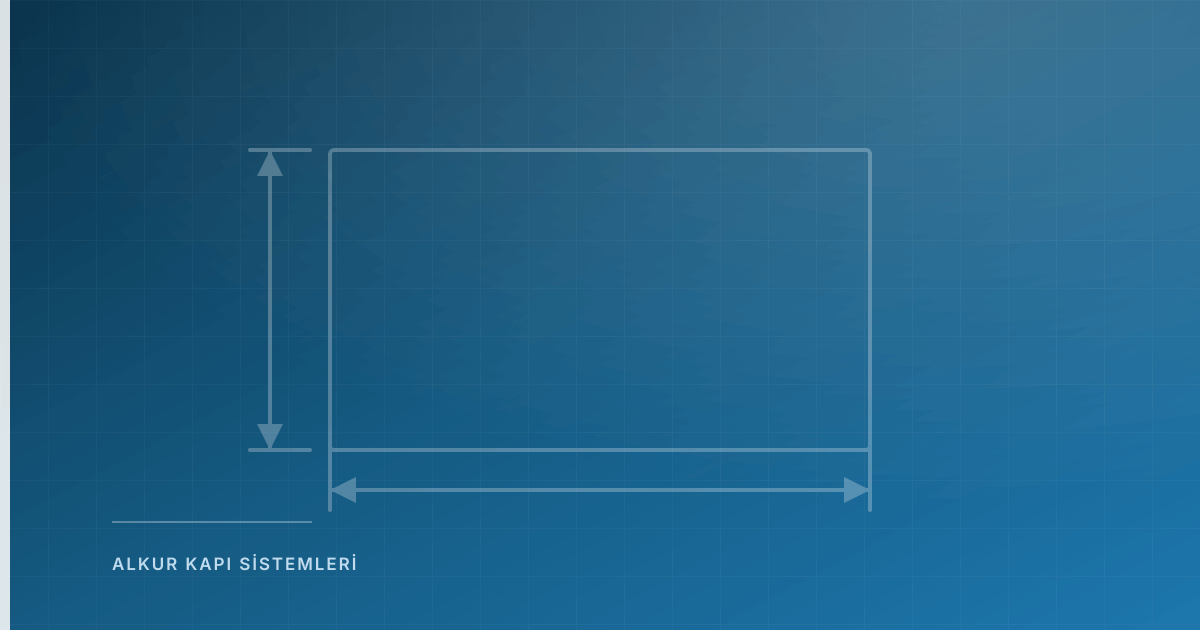
The clear opening is the void left in the structure: the free distance between walls or columns, under the lintel. The sub-frame is the structural surround the door tracks fix to, and it sits inside that opening. So the internal dimension of the sub-frame is always somewhat smaller than the clear opening.
The dimension is given from the internal face of the sub-frame. The reason is simple: the door fixes to that frame and the passage sits inside it. A door made to a dimension given as the clear opening comes out oversize by the thickness of the frame and will not enter the opening.
Where the frame has not yet been built on site, this should be stated plainly when giving the dimension, and the structural opening should be sent along with the lintel and jamb allowances separately. That way the frame dimension is calculated correctly.
Three lines instead of one dimension
Writing down which point the measurement came from, rather than sending a single number, eliminates the most frequent error between quotation and production: internal sub-frame width, internal sub-frame height, and where no frame exists yet, the structural opening with its allowances.
Square comes before the dimension
A correctly read dimension is of no use on an out-of-square frame. Squareness must be checked carefully while the sub-frame goes up; on an out-of-square frame the tracks do not sit parallel, track alignment drifts, and the door runs with friction and imbalance.
The check is straightforward: measure both diagonals of the frame and expect them to be equal. Any difference means the frame is out of square. This error cannot be compensated during installation, it has to be corrected at the frame stage. Our installation manual therefore treats the squareness check not as a single step but as one repeated at every stage of fitting the tracks, curve profiles and track assembly.
Floor level is part of the dimension
Height is measured from the floor, so the floor itself forms part of the dimension. On a door installed on the assumption that the floor is flat, the tracks sit at different levels; the bottom seal does not close fully onto the floor and the leaf runs out of true.
Before installation the floor level is checked with a level and plumb line, and the area where loading or traffic will take place is confirmed flat and at one level. Where there is a difference, the floor is corrected before installation; compensating at the door is not a lasting fix.
Headroom and side clearances
Width and height are only half the measurement. For the door to work, space is needed around the opening as well:
Headroom — the space remaining above the opening up to the ceiling. On a sectional door this value decides the lift type; standard lift asks for 400 mm.
Side clearances — the jamb allowances the tracks and track assembly sit in. They can differ on either side of the opening, and each is measured separately.
Motor side — which side the motor goes on. Panel position, service access and obstructions to the side decide it, and it is marked on the form.
Obstructions under the ceiling — beams, service runs, crane runways, lighting. Even where headroom looks sufficient, an obstruction can change the track arrangement.
The same logic applies to HPVC doors; the dimension comes from the internal face of the sub-frame, with the required clearances left above and to the sides. The difference is on the production side: the drum the curtain winds onto is cut 4 cm longer than the clear passage width, and the curtain itself is cut 10 cm wider and 55 cm taller than the opening. Those allowances are calculated in production, so you do not need to add them when giving dimensions.
On dock levellers the pit detail takes the place of the form
For dock levellers a pit detail is used instead of a size confirmation form, because what governs is not a door opening but the reinforced concrete pit. The common sizes are 2000 × 2500 mm and 2000 × 3000 mm platforms, and we publish a ready pit detail for both.
The pit detail is identical for hinged and telescopic lip types, so the lip decision does not hold up construction. An 80 × 80 mm angle anchor is set around the pit and a 50 mm cable duct is run for the hydraulic unit supply. The critical point here is timing: the dimensions must be confirmed before the pit concrete is poured, since correcting it afterwards means breaking out.
What the size confirmation form asks for
The form is the document on which a site measurement is verified in writing before it enters production. It is specific to the lift type, with separate sheets for standard, high, vertical and following high lift, because each requires different headroom and a different drum group.
The values marked individually on the form are: clear width and height, headroom, side clearances, motor side, window selection and position, RAL colour. Full Vision doors have their own set of forms and garage doors use a single form.
Where production starts without an approved form, a measuring error runs all the way into the panels. All the forms are on our Catalogues and Documents page; if you are unsure which applies, sending the opening dimensions is enough and we will point you to the right one.
The six most frequent mistakes
- Giving the clear opening dimension as the sub-frame dimension.
- Measuring without checking the frame for square.
- Assuming the floor is level and missing the difference between the two tracks.
- Not measuring the headroom, and so leaving the lift type open in the project.
Assuming both jamb allowances are equal; a column, service run or duct can narrow one side.
Leaving obstructions under the ceiling (beams, crane runway, lighting) off the measurement.
All six close with a few minutes of extra checking at the measuring stage; after production, none of them is cheap. Send us the dimensions and site photographs and the quotation is prepared against a confirmed form.